Regardless of your line of work, if it includes providing services or goods to clients and charging money for them, you’re going to have to issue ‘sales bills’ whenever transactions take place.
This term is often used interchangeably with the term ‘sales invoice’, causing a bit of confusion in this sphere, so let’s clear it up first before going into any detail:
Are sales bills and sales invoices the same?
In short, yes. More or less.
Basically, a sales bill and a sales invoice are one and the same thing as they both convey the same information – a list of services or products sold to a client alongside the price, quantity, and other relevant information. As a matter of fact, Investopedia’s definitions of the two are strikingly similar, defining ‘a bill of sale’ as a legal document detailing a sale from one party to another, and ‘an invoice’ as a time-stamped commercial document itemizing and recording a transaction between two parties.
The only difference between these two terms is the point of view – the seller or the buyer.
To put it more simply, businesses send out invoices to their clients when they seek to collect payments from them for the services or products provided. The recipient of this invoice will typically refer to it as a bill, especially for their book-keeping and/or taxation purposes.
A ‘bill’ is also a bit more generic term than an ‘invoice’, and can refer to several different documents, invoices included. For instance, a bill can also refer to a receipt, more commonly used in retail and provision of other goods, although receipts typically aren’t as formal as bills and don’t need to include a full description of the items being billed.
On the other hand, a sales invoice is a more specific term, defined as an itemized list of goods and services that were sold to a buyer by a seller. It also contains all the terms of the transaction, hours and/or amounts, information about the accepted payment methods, and the like. Invoices are also considered to be legal documents.
What is the purpose of a sales bill?
A sales bill (or invoice) serves as legally recognized evidence acknowledging a sales transaction with full consideration for both sides.
It informs everyone involved about all the specific items being sold for the agreed-upon price, payment schedules, and the accepted payment methods, as well as confirming that the buying party owes the seller money for that transaction. Bills are also useful to the buying party as they prove ownership of the goods they purchased.
Both the buyer and seller can use sales bills for proper record-keeping, dealing with accounting, internal audits, and taxation requirements.
Difference between purchase bill and sales bill
In addition to a sales bill, businesses may also issue purchase bills. Sales bills and purchase bills are similar since they both can be added to financial statements, but there are some subtle differences, as well.
A purchase bill is typically issued by the buyer after a purchase order has been completed, as evidence that the seller has fulfilled their end of the deal in the purchase of goods or services. Such a bill is managed by the buyer and the due date listed on it is the date until which the buyer commits to pay the seller for the rendered services or goods.
On the other hand, a sales bill is issued by the seller during a transaction. The buyer will receive it as a confirmation or evidence that they purchased the said goods or services, recording the amount of money spent, any outstanding debt, listing the purchased items and their quantities, discounts, and any other relevant information.
What is the format of a sales bill?
A sales bill follows a specific format and certain things should be included in it. First of all, it needs to have essential contact information about both your business and your client. This information covers:
- the sellers’ name, official address, phone number, and email
- the buyer’s (client’s) name, address, phone number, and email
If you offer the option to pay via money transfer, you can also list your company’s transaction and banking details (account number, relevant bank, etc.) at the bottom of the bill,
A sales bill also needs to show the date when you provided your service or goods (i.e. the supply date), as well as the bill creation date. You can add the supply date in the description of the provided items, while the bill creation date can be placed at the top of the invoice, next to yours and your client’s contact information.
Next is the list of the items billed, preferably in a table, along with their description, quantity, hours worked, price, and subtotal for each item. You’ll also need to add the total amount due, which will include all the applicable discounts and taxes.
Finally, you’ll need to inform your client about the payment terms and conditions, such as the payment due date, payment methods, late fee policy, and so on. This information is most often placed at the bottom of the sales bill or invoice.
When creating your sales bill, there are a few additional methods you should employ to make sure your clients notice it immediately and pay faster, including:
- Making it clear that it’s a sales bill or invoice.
Your clients need to be aware that you’ve sent them a sales bill they need to pay. You can achieve this by clearly displaying the words ‘sales bill’ or invoice’ at the top of the document.
- Sparkling it with some personality.
Your documents need to visually represent your brand and that is done through the use of your specific fonts and color schemes whenever possible. Also, don’t forget to place your company’s logo at the bottom and top of the sales bill. This is how you’ll demonstrate professionalism and make your sales bill stand out among all the other papers your clients may be dealing with everyday.
How to create a sales bill
Now that we’ve answered the ‘what is a sales bill’ question, it’s time to learn how to create a sales bill that does what it’s supposed to while representing your business in the best possible light. There are two main ways to do this – manually from scratch or using a template. Both can be done using Microsoft Word or Microsoft Excel.
a) Creating a sales bill using Microsoft Word
Let’s go through all the steps for the Microsoft Word manual method first:
- Start Microsoft Word and open a new blank document by clicking on File and then selecting New Document.
- Insert a header with your brand’s logo, contact details, and the words ‘sales bill’ or ‘invoice’.
- Add all the relevant details, such as the supply and billing dates, your client’s contact details, payment terms and deadlines, the total amount due, and the like.
- Create a table of services or goods provided, along with descriptions, amounts, and prices.
- Add a footer with special notes, signatures, comments, reminders, and the like.
- Save the document and forward it to your client.
Instead of doing everything from scratch, you can use Microsoft Word templates, which have pre-designed fields for you to fill out. The process looks like this:
- Start Microsoft Word and select File.
- Choose New and filter out the offered templates by entering the word ‘bill’ or ‘invoice’ in the search field.
- Pick the template that you want to use and double-click on it to open a new document.
- Fill out the template with all the necessary details into required fields, including invoice number, contact information, dates, items, descriptions, and so on. You can also add your brand’s logo.
- Save the sales bill and send it to your client.
b) Creating a sales bill using Microsoft Excel
Microsoft Excel billing templates can also be used to create a sales bill and the process is similar to the one for Microsoft Word templates:
- Start Microsoft Excel and click File.
- Click on New and narrow down the list of relevant templates by typing ‘bill’ or ‘invoice’ into the search bar.
- Choose the one you think suits best your business and double-click on it to open a new Excel document.
- Fill the document with the relevant details, including your logo, the contact information of both your business and the client, supply and billing dates, items with descriptions, and the like.
- Save the document and email it to your customer.
If you prefer the Microsoft Excel manual method, this is how it’s done:
- Start Microsoft Excel and open a new blank document by clicking on File, and then choosing New Document.
- Add a header with your logo, contact information, the words ‘sales bill’, and the date of the bill.
- Input the rest of the relevant information, like the supply date, client’s contact information, payment terms and deadlines, as well as the itemized list of the services or goods you provided with their descriptions, amounts, etc.
- Use the Excel SUM function to add up the subtotals in the relevant columns and cells. For instance, to add up the amounts in Column E, from cell two through 14, you’ll need to type =SUM(E2:E14). The result is the total amount due that you’ll also type in the bill.
- Save the document and forward it to your client.
Save time with professional sales bill templates
A much simpler way to create a sales bill, without the limitations of the templates that come included in your Microsoft Word and Excel apps is to use a professional template, created for your specific line of business in mind. It doesn’t matter whether your business is a mental therapy practice, life coaching service, advertising agency, pet training service, transportation, or spiritual coaching service – you name it, we have it.
Here you can choose among 25 free and unique billing designs for your business or you can sign up for one of our business management plans (starting as low as $29/month) and get access to an unlimited stash of templates for billing and invoicing you can fully adapt to your own business.
Even better, signing up will give you access to all the best professional tools you need for automatic billing and invoicing of your clients for your services, so you don’t have to create a sales bill from scratch ever again!
Your only task will be to input the clients’ details, items you bill them for, and their prices. The best part? You’ll only have to do that once, thanks to the auto-filling feature that saves all your entered information for future reference.
You’ll also be able to customize your billing templates in any way you like, reflecting your business’ colors, fonts, and logo. vcita also allows you to keep a close eye on all your clients’ payments – pending, outstanding, and completed.
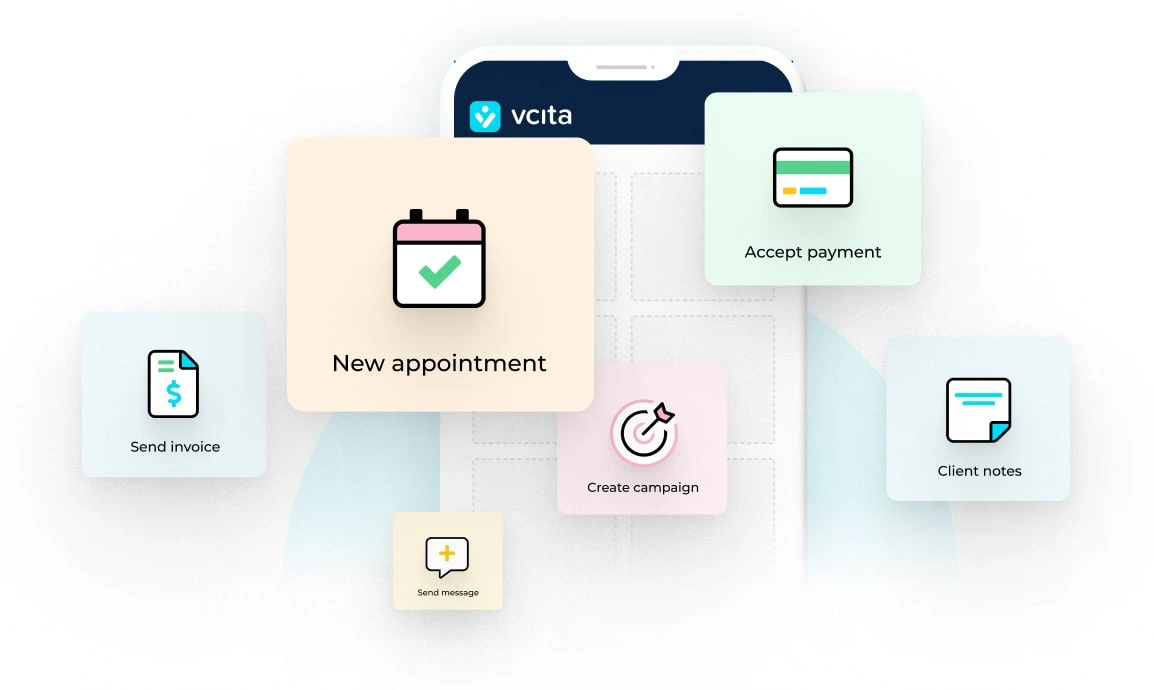
On top of that, you’ll get access to options like online scheduling and client management, automated reminders, bookkeeping, a client portal, business calendar, marketing campaigns, even Zoom integration (for video sessions with your clients), and so much more.
Sign up today for a 14-day free trial and you’ll experience all the possibilities first-hand!


